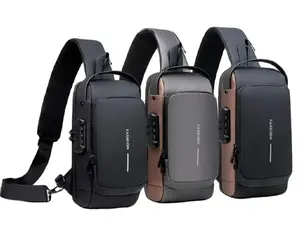
Dù cho một bữa tiệc cầu kỳ, cho văn phòng hay cho một chuyến đi chơi bình thường, hãy tìm sự hoàn hảo. trục sau chắc chắn trên Alibaba.com .. trục sau chắc chắn đã trở nên không chỉ là một vật dụng có chức năng để đựng các vật dụng hàng ngày. Bây giờ chúng được coi là một phụ kiện thiết yếu và thường được phối hợp với phần còn lại của trang phục của một người để có một cái nhìn thời trang. Những cái này. trục sau chắc chắn thường chứa nhiều phần tô điểm và phần tử thiết kế để nâng cao thương số phong cách của một người.
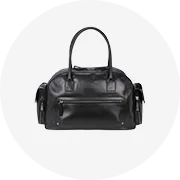
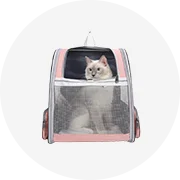
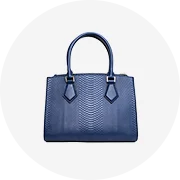
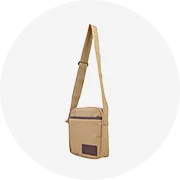
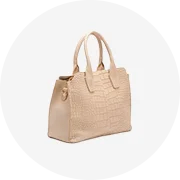
Các. trục sau chắc chắn được cung cấp trên Alibaba.com được làm từ da hoặc vải có chất lượng tốt nhất, để đảm bảo giao diện và cảm nhận cao cấp. Những cái này. trục sau chắc chắn có túi, bao, khóa kéo và tay cầm được thiết kế tốt để cung cấp cho người dùng sự tiện lợi tối đa .. trục sau chắc chắn có cả kiểu dáng truyền thống và cổ điển cũng như những mẩu tuyên bố kỳ quặc có khả năng thu hút sự chú ý. Những người đam mê thời trang có thể sẽ rất vui mừng bởi hàng loạt các sản phẩm được cung cấp. trục sau chắc chắn có nhiều kích thước và hình dạng khác nhau. Chúng bao gồm từ những món cực kỳ nhỏ dành cho mục đích trang trí đến những món lớn hơn có nhiều vách ngăn và túi cho những người cần mang nhiều đồ .. trục sau chắc chắn có sẵn ở dạng rắn cũng như được đính đá quý, đá, và thậm chí cả kim loại quý .. trục sau chắc chắn có thể cứng và không linh hoạt hoặc được làm từ vật liệu mềm và co giãn, tùy thuộc vào nhu cầu của người dùng. Chúng có thể trong suốt hoặc có màu đồng nhất và có thể được làm thủ công cẩn thận bằng gương và các vật trang trí khác.
Tăng kho ngoại hình của bạn với phạm vi đáng yêu và hấp dẫn này. trục sau chắc chắn có sẵn trên Alibaba.com. Với các ưu đãi và chiết khấu vô cùng hấp dẫn, hãy mua bao nhiêu tùy thích mà không lo vượt quá ngân sách của bạn .. trục sau chắc chắn nhà cung cấp và người bán buôn cũng có thể lấy những mặt hàng đáp ứng tốt nhất sở thích của họ với mức ưu đãi tuyệt vời.