All categories
Featured selections
Trade Assurance
Buyer Central
Help Center
Get the app
Become a supplier


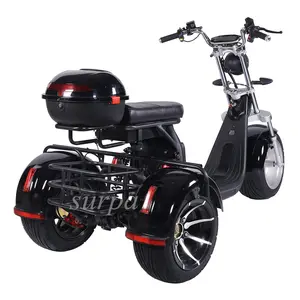
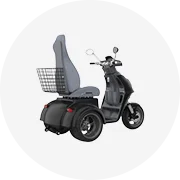
Aibaba.com cung cấp. trục sau trike phù hợp với nhiều loại ứng dụng, từ sử dụng cá nhân để đi làm, sử dụng các công cụ tập thể dục nhẹ và phương tiện vận tải thương mại, đến hỗ trợ di chuyển cho những người già và khó khăn về thể chất .. trục sau trike là xe ba bánh thường hoạt động bằng pin và có thể sạc bằng điện. Họ cung cấp một giải pháp thay thế thân thiện với môi trường và thú vị hơn cho các cách di chuyển khác .. trục sau trike có thể ngồi một hoặc nhiều người cùng một lúc tùy thuộc vào cách họ được thiết kế.
Sự lựa chọn đa dạng đáng kinh ngạc. trên Alibaba.com chắc chắn sẽ làm bạn ngạc nhiên, với nhiều điều khác nhau. trục sau trike trong tầm tay bạn. Đừng bỏ qua cơ hội này để mua những sản phẩm chất lượng tốt nhất với mức giá cực kỳ khiêm tốn. Dù là người tiêu dùng, nhà cung cấp hay nhà sản xuất, bạn chắc chắn sẽ tìm được những món hời nhất trên trang web này.