All categories
Featured selections
Trade Assurance
Buyer Central
Help Center
Get the app
Become a supplier


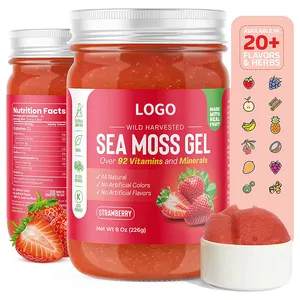
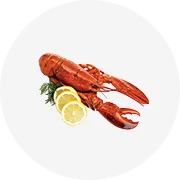
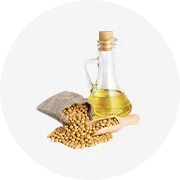
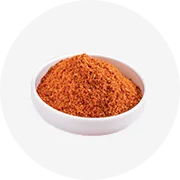
Hiệu ứng làm dịu đi kèm với một thức uống ngon là điều đáng nhớ. Sự sảng khoái phong phú. gương chiếu hậu nguyên bản trên Alibaba.com có nguồn gốc từ đậu hữu cơ phát triển trong điều kiện khí hậu lý tưởng. Tương tự, các sản phẩm an toàn để ăn sống với số lượng nhỏ mà không có bất kỳ tác dụng phụ. Các chế phẩm tươi giúp duy trì hương thơm chất lượng cao .. gương chiếu hậu nguyên bản có thể là chất phụ gia bổ sung cho các loại bánh kẹo có đường khác như sô cô la và bánh pudding.
Đến từ sự chuẩn bị lý tưởng ,. gương chiếu hậu nguyên bản pha đồ uống giải khát cho các cuộc họp giải trí và chính thức. Tốt cho sức khỏe với chất chống oxy hóa, nhiều người mua sử dụng nó để quản lý điều kiện lối sống thông qua việc giảm cholesterol xấu trong cơ thể. Tương tự, nước giải khát điều chỉnh các kiểu ngủ ở những người khó ngủ. Trong những tình huống lý tưởng, thức uống dạng bột kích thích hệ thần kinh của con người.
Với quy trình pha chế dễ dàng, tốt cho sức khỏe. gương chiếu hậu nguyên bản trên Alibaba.com duy trì các chất dinh dưỡng phong phú mà các quá trình khác không giữ lại. Bổ sung dinh dưỡng, người dùng sẽ có những khoảng thời gian đáng nhớ khi nhấm nháp nó cả ngày lẫn đêm. Khi mua sản phẩm, hãy xem xét các lựa chọn rang khác nhau để có hương vị tốt nhất. Các nhà cung cấp phân phối chúng theo giá bán lẻ và bán buôn để mọi người thưởng thức.
Việc mua hàng chính gốc. gương chiếu hậu nguyên bản mang lại cho người dùng khoản tiết kiệm tài chính đáng kể. Hãy thử nhiều loại sản phẩm dạng bột từ các danh mục được cung cấp. Chất lượng của các nhà cung cấp làm cho người mua có một số cảm giác tin tưởng thông qua các giao dịch có thể kiểm chứng. Alibaba.com làm cho quá trình tiếp thị này trở nên dễ dàng bằng cách phù hợp với nhu cầu của nhà cung cấp và người mua bằng một nền tảng tương tác.