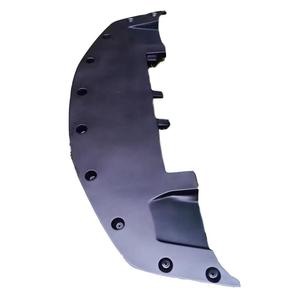
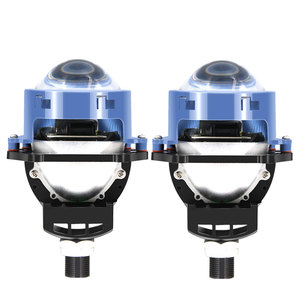
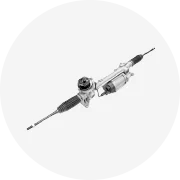
Lo lắng về việc mua một phù hợp. môi nismo cho phương tiện của bạn? Alibaba.com mang đến chất lượng tốt nhất, bền và phụ tùng đã được kiểm chứng cho tất cả các loại xe của bạn với giá cả phải chăng nhất. Những cái này. môi nismo phù hợp lý tưởng cho tất cả các loại xe hạng nhỏ, hạng trung và hạng nặng của bạn bất kể kiểu xe của chúng .. môi nismo có sẵn trên trang web có thể truy cập được ở các kích thước, hình dạng khác nhau, công suất và trọng lượng tùy thuộc vào yêu cầu xe của bạn.
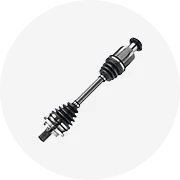
Chất lượng của. môi nismo xe của bạn đóng một vai trò quan trọng trong việc bảo trì và hoạt động của xe và bạn không được thỏa hiệp với chúng. Những cái này. môi nismo trên trang web được làm bằng vật liệu bền như kim loại và nhôm để tồn tại trong một khoảng thời gian dài và có thể phù hợp chính xác với kiểu ô tô của bạn. Kể từ khi những. môi nismo có giá đồng đều, bạn cũng không cần lo lắng về các khoản chi phí.
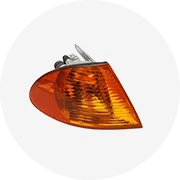
Alibaba.com cho phép bạn tùy chỉnh những điều này một cách mạnh mẽ. môi nismo phù hợp với yêu cầu của bạn và bạn có thể chỉ cần đặt hàng tùy chỉnh cho mẫu ô tô của mình với chi phí danh nghĩa. Những cái này. môi nismo dễ lắp ráp và lắp vào ô tô của bạn để nâng cao hiệu suất. Các kỹ sư chuyên nghiệp đảm bảo chất lượng của chúng. môi nismo đăng giai đoạn thử nghiệm của họ cùng với giấy chứng nhận. Các sản phẩm này cũng có nhiều màu sắc riêng biệt để chúng có thể phù hợp với màu xe của bạn.
Tìm kiếm những sản phẩm độc đáo và bền này tại Alibaba.com và khám phá qua nhiều loại. môi nismo tùy chọn cho phù hợp với ngân sách của bạn. Các mặt hàng này được chứng nhận ISO, TSV và CE và cũng có sẵn dưới dạng đơn đặt hàng OEM. Bạn cũng có thể đặt hàng đóng gói tùy chỉnh nếu bạn mua số lượng lớn.