All categories
Featured selections
Trade Assurance
Buyer Central
Help Center
Get the app
Become a supplier
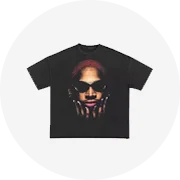
(Có 7883 sản phẩm)

 Ready to Ship


 Sẵn sàng vận chuyển
 Sẵn sàng vận chuyển
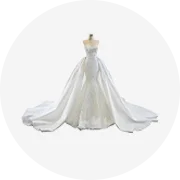
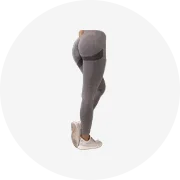
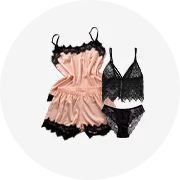
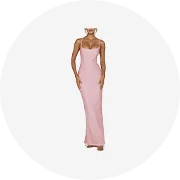
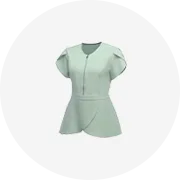
 Chọn từ nhiều kiểu đẹp. nhãn dán móng tay đen trên Alibaba.com. Những sản phẩm may mặc này lý tưởng cho nhiều dịp, có thể là đi chơi bình thường, dự tiệc hoặc thậm chí là các sự kiện trang trọng .. nhãn dán móng tay đen được cung cấp trên trang web là từ các thương hiệu đáng tin cậy đảm bảo chất lượng vật liệu và đường may tốt nhất . Chúng được thiết kế để bổ sung cho loại cơ thể của người mặc và tôn lên vẻ ngoài của họ .. nhãn dán móng tay đen được cung cấp trên trang web có phạm vi từ màu đơn giản, đồng nhất đến hoa văn và thêu đính hoặc thủ công.
nhãn dán móng tay đen được cung cấp trên Alibaba.com có sẵn ở tất cả các kích cỡ, đặc biệt là kích thước nhỏ hoặc lớn để có thể đáp ứng cho nhiều đối tượng người mặc nhất. Các kích cỡ cho trẻ em gái và trẻ mới biết đi cũng có sẵn .. nhãn dán móng tay đen có các chiều dài và đường cắt khác nhau. Những loại này bao gồm từ bodycon, sheath, pinafore, maxi và nhiều loại khác .. nhãn dán móng tay đen được cung cấp trên trang web có rất nhiều hình in và họa tiết thú vị để giúp người mặc thể hiện phong cách độc đáo của họ của phong cách.
nhãn dán móng tay đen được cung cấp trên trang web có nhiều biến thể phong cách bổ sung cho áo dài truyền thống và một số đi kèm thắt lưng và thắt lưng giúp hoàn thiện vẻ ngoài. Những cái này. nhãn dán móng tay đen có nhiều loại từ trang phục bình thường hàng ngày đến những món đồ hàng hiệu chắc chắn sẽ gây ấn tượng trong những dịp xã hội phức tạp nhất. Những cái này. nhãn dán móng tay đen là một phương pháp điều trị cho đôi mắt và cũng vừa vặn thoải mái, cho phép người đeo trông thời trang mà không phức tạp.
Mua hàng từ rất nhiều. nhãn dán móng tay đen trên Alibaba.com và thêm chút hiện đại và phù hợp vào tủ quần áo của bạn. Đây cũng là lý tưởng cho. Các nhà cung cấp nhãn dán móng tay đen đang tìm cách dự trữ những sản phẩm trang nhã chắc chắn sẽ gây ấn tượng với người tiêu dùng. Với các chiết khấu hấp dẫn trên trang web, việc trông hợp thời trang chưa bao giờ dễ dàng hơn thế!