All categories
Featured selections
Trade Assurance
Buyer Central
Help Center
Get the app
Become a supplier


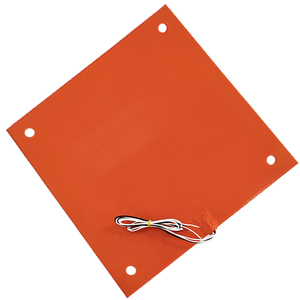
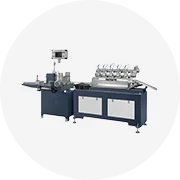
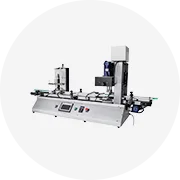
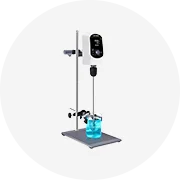
Duyệt qua Alibaba.com và khám phá nhiều điều kỳ diệu. 300x300 heatbed. Khi bạn được trang bị quyền. 300x300 heatbed, quá trình gia nhiệt của bạn sẽ đạt năng suất cao. Điều này sẽ giúp bạn đạt được mục tiêu của mình ở nhà hoặc trong kinh doanh. Với bộ sưu tập đa dạng của. 300x300 heatbed, bạn được đảm bảo tìm thấy từ khóa phù hợp nhất theo thông số kỹ thuật của mình.
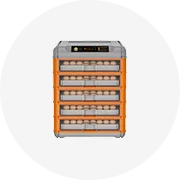
Các. 300x300 heatbed trên Alibaba.com bao gồm các vật liệu và thiết kế xuất sắc và mạnh mẽ giúp tăng hiệu suất và tuổi thọ tốt hơn. Các. 300x300 heatbed có khả năng chịu nhiệt độ cao một cách nổi bật để chắc chắn rằng chúng không bị ảnh hưởng bất lợi bởi nhiệt mà chúng tạo ra. Chúng cũng có đặc điểm là có cơ chế kiểm soát nhiệt độ tuyệt vời để cho phép bạn đạt được và duy trì lượng nhiệt mong muốn. Do đó, bạn luôn nhận được những gì bạn mong đợi từ phạm vi cao cấp này. 300x300 heatbed.
Một điểm cộng chính mà bạn sẽ thấy với những thứ này. 300x300 heatbed là siêu hiệu quả vì mức tiêu thụ năng lượng của chúng thấp nhưng hiệu suất của chúng rất tuyệt vời. Với hiệu quả này, chúng thúc đẩy tính bền vững và cho phép bạn tiết kiệm hóa đơn tiền điện. Tốc độ dòng chảy của chúng. Bản ghi 300x300 heatbed hiệu quả không ngờ, đảm bảo cho bạn kết quả đầu ra và lợi nhuận tốt nhất. Bảo trì của họ là đơn giản bởi vì những. 300x300 heatbed rất dễ làm sạch để bảo vệ chúng khỏi các chất gây ô nhiễm có thể làm gián đoạn hiệu suất của chúng.
Hãy đưa ra quyết định đúng đắn ngay hôm nay và thêm sự xuất sắc cho các quá trình gia nhiệt. Duyệt qua nhiều loại lộng lẫy. 300x300 heatbed trên Alibaba.com. Bất kể thông số kỹ thuật của bạn là gì, bạn sẽ xác định được tùy chọn tốt nhất cho mình. So sánh khác nhau. 300x300 heatbed người bán buôn và nhà cung cấp cũng như những ưu đãi của họ để bạn nhận ra giá trị tốt nhất cho mỗi đô la bạn chi tiêu.