Popular in your industry


Top categories


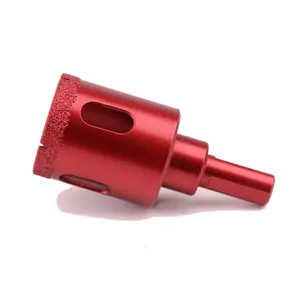
About tile drill
Introduction
Embarking on a DIY project involving tiles can be a daunting task, especially when it comes to drilling precise holes without damaging your precious materials. This article serves as your ultimate guide to understanding and utilizing tile drills, a game-changer in homebuilding and DIY projects. We delve into the different types of tile drills, their specific uses, and how to choose the right one for your project. We also share valuable tips and techniques for drilling tiles, safety measures, maintenance advice, and creative applications of tile drills in your DIY projects. Let's revolutionize your DIY experience with the power of tile drills.
Understanding Tile Drills: What They Are and Why You Need Them
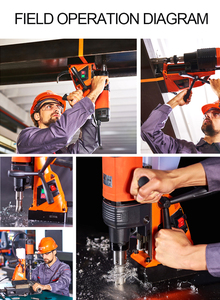
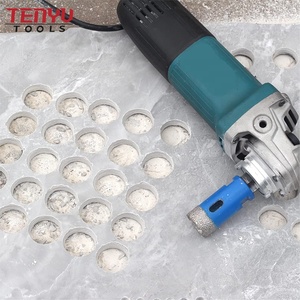
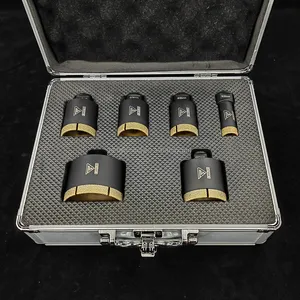
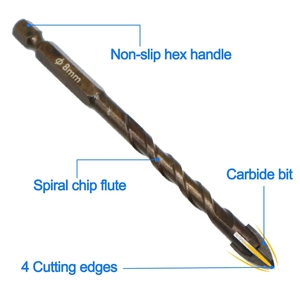
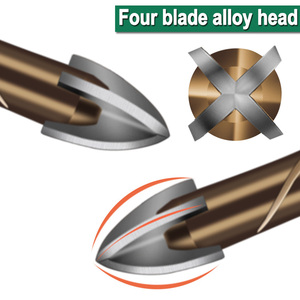
Tile drills are essential tools for any homebuilding or DIY project, particularly when working with tiles. They allow for precise drilling through tile to accommodate plumbing fixtures and pipes. To effectively use a tile drill, you need a variable-speed drill, a carbide-tipped drill bit, and a masonry hole cutter. The process involves marking the center of the hole, aligning the drill bit, and applying pressure while rocking the bit from side to side. This technique scores the glaze on the tile, preventing the bit from slipping out of position during drilling.
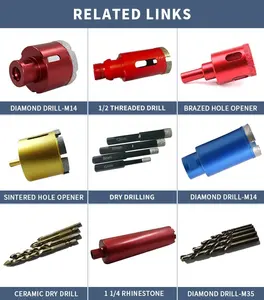
Types of Tile Drills: Making the Right Choice
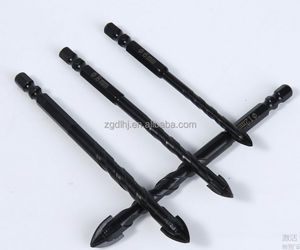
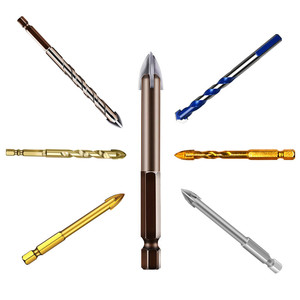
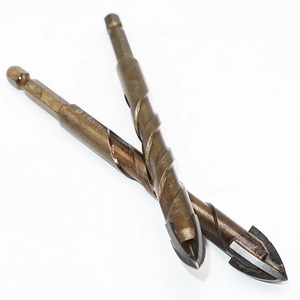
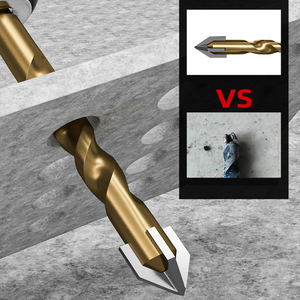
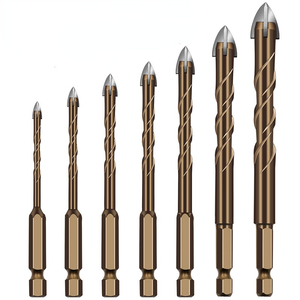
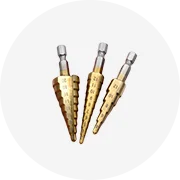
Tile drills come in different types, each designed for a specific kind of tile. Standard drill bits are ineffective on tile, but ceramic tile can be drilled with a carbide bit. For glass and porcelain, a diamond-tipped bit is more suitable. While diamond bits may sound expensive, a ¼ inch diamond tipped bit costs under $20, and a carbide bit of the same size can be had for less than $10. When in doubt, opt for the diamond bit as it can drill any type of tile.
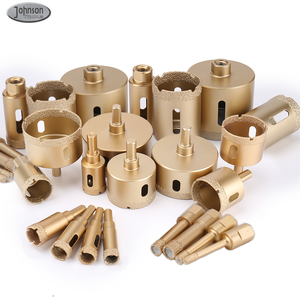
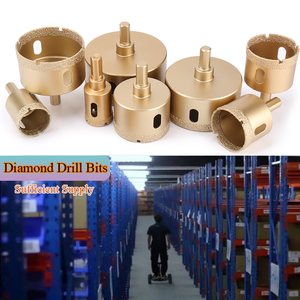
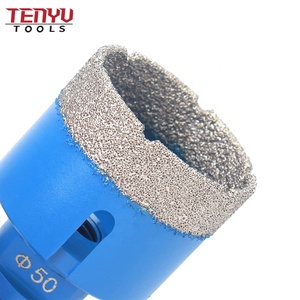
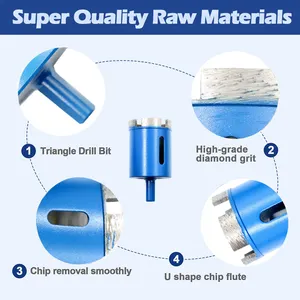
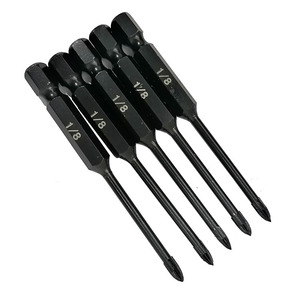
Diamond Drill Bits
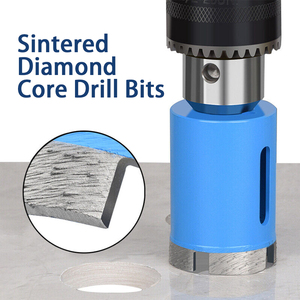
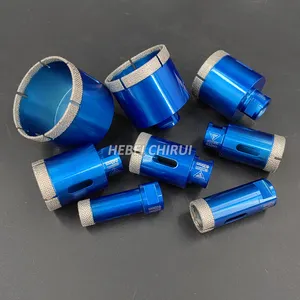
Diamond-tipped drill bits are a versatile choice for various materials, including glazed ceramics, porcelain, and glass tiles. This eliminates the need to switch bits when working with different tile materials. Typically, these bits have a solid, flat-end tip and come in sizes as small as 1/16 inch to 1/8 inch. Despite the association with diamonds, these drill bits are usually affordable due to their small size.
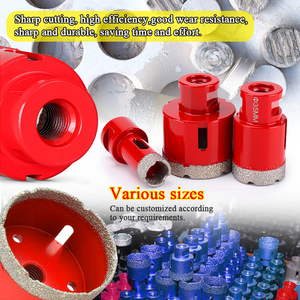
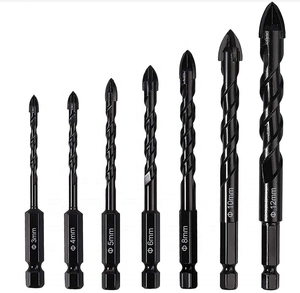
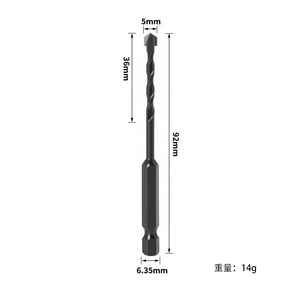
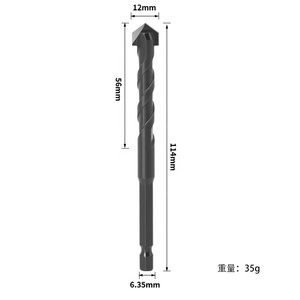
Carbide Drill Bits
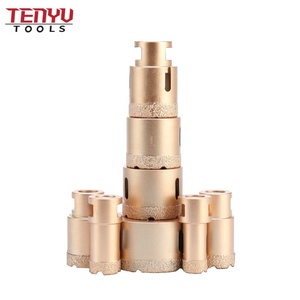
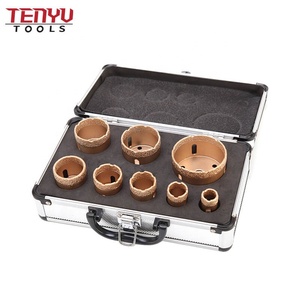
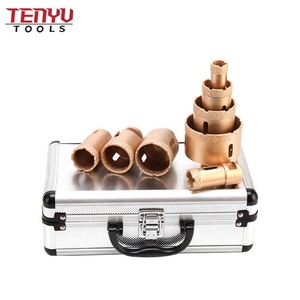
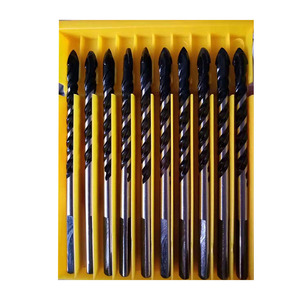
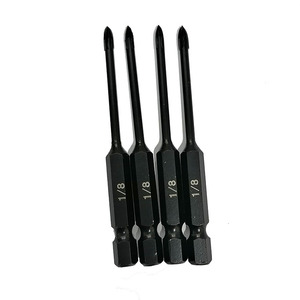
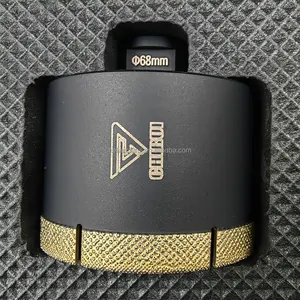
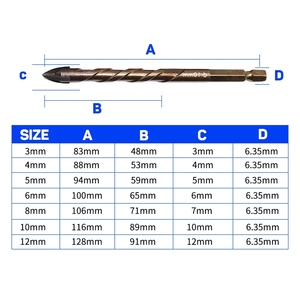
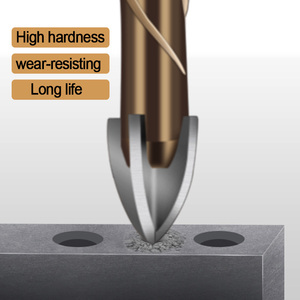
Carbide drill bits are a popular choice for drilling tiles due to their durability and performance. They are made from a hard material known as carbide, which can withstand the hardness of tiles. These drill bits are available in various sizes, from 1/8 inch to 2 inches, allowing for a range of applications. Top-quality brands offer carbide drill bits that are designed for specific materials such as glass, tile, and stone. They are also available in sets, providing value for money. When choosing a carbide drill bit, consider the material you will be drilling and the required bit diameter and length.
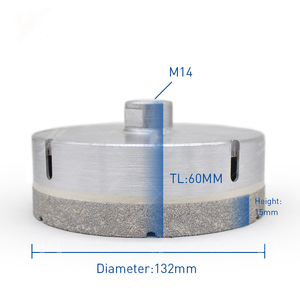
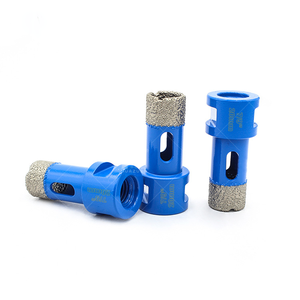
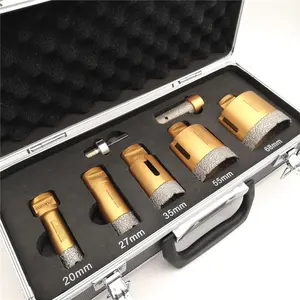
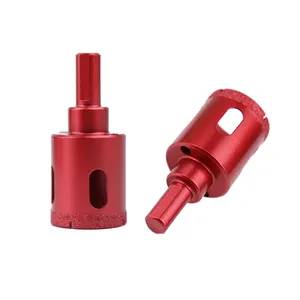
Porcelain Drill Bits
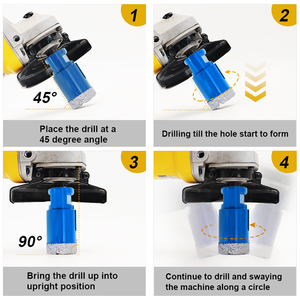
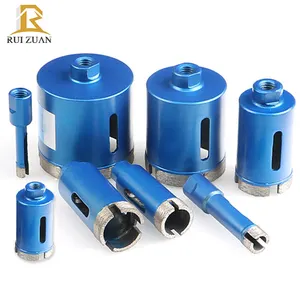
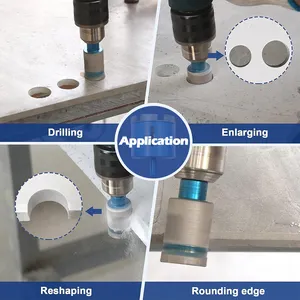
Porcelain drill bits, such as diamond core drill bits, are ideal for drilling through tiles. They are designed to cut through glazed and polished porcelain, sandstone, terracotta, and ceramics. To use them effectively, start the drill at a 45º angle and gradually straighten the power tool. These bits are suitable for wet drilling only and should never be used on a hammer setting. It's important to keep the drill bit wet and go slow to prevent cracking the tile. Once through the tile, you can switch to a concrete bit for further drilling.
The Art of Drilling Tiles: Techniques and Tips
Drilling ceramic tile requires a patient approach and the correct tools. Ceramic tile is both hard and brittle, which can easily damage both the tile and drill bit. However, with the right technique and patience, you can successfully drill through ceramic tile without causing any damage. Remember, rushing the process may lead to cracked tiles, which would require additional repair work.
Preparation Before Drilling
Before drilling, understand your tile type as each material requires a different treatment. The tile's thickness, density, and strength will determine the drill bit size and sometimes, the type of drill. Ceramics or marble are softer and easy to drill through, while porcelain tiles are denser and harder. If you’re drilling through an installed tile, know what substrate is behind it. Choose the correct drill bit for the material. Cool down your drill bits before starting to enhance their longevity and precision. Measure twice and drill once. Practice on a similar surface or an extra tile piece if you're less confident.
Drilling Process
Drilling ceramic tile requires a patient approach and the correct tools. Ceramic tile is both hard and brittle, which can easily damage both the tile and drill bit. However, with the right technique, there's a high chance of success. This process is not without risks, as there's a possibility of cracking the tile.
Post-Drilling Cleanup
After you've completed drilling, it's crucial to clean the tile surface. If you've used masking tape, remove it and wipe away any dust on the tile with a wet cloth. Then, insert fixing plugs into the holes and attach your accessory. This cleanup process ensures a neat finish and prepares the surface for the next steps of your DIY project. Remember, maintaining a clean workspace is not only aesthetically pleasing but also contributes to the overall success of your project.
Safety Measures When Using Tile Drills
When using tile drills, safety is paramount. Always wear protective clothing, including safety goggles, respiratory masks, and gloves. Ensure the drill chuck is tightened securely to prevent the drill bit from slipping. Avoid applying excessive pressure on the drill, which could damage the motor. Refrain from wearing jewelry or loose clothing that could get caught in the drill. Mark the drilling place to prevent the drill from slipping. If water spills on your drill, dry it immediately to avoid electric shocks. Lastly, never hold or carry a corded drill by its cable to prevent wire breaks and short-circuits.
Maintenance and Care for Your Tile Drills
Drill bit maintenance is crucial for extending their lifespan and ensuring safety. Dull or damaged drill bits can cause workplace issues and even injuries. Regular sharpening is necessary, especially for frequent use in heavy-duty tasks. Dull bits can increase the time and effort required for a job and can damage the materials you’re working with. Investing in a sharpening tool can help keep your drill bits in top shape. Proper storage also prevents nicking or scratching of the drill bits and provides excellent organization.
Revolutionizing Your DIY Projects: Creative Uses of Tile Drills
Drilling into ceramic tile can be a daunting task, but with the right tools and techniques, it can revolutionize your DIY projects. Using a new, sharp drill bit is key to success, reducing the risk of chipping or cracking the tile. Starting with a smaller bit to create a pilot hole can guide the larger bit, reducing heat and stress. The process requires patience and persistence, working slowly and carefully to avoid damaging the tile. This technique was successfully applied in a bathroom renovation project, drilling holes for a new toilet installation.
Conclusion
In conclusion, tile drills are indispensable tools for any DIY enthusiast or professional builder. Understanding the different types of tile drills and their specific uses can significantly enhance the quality of your work and the longevity of your tools. With the right techniques, patience, and safety measures, you can successfully drill through various tile materials without causing damage. Regular maintenance of your drill bits ensures their optimal performance and extends their lifespan. Remember, the key to a successful DIY project lies in the right tools, techniques, and a dash of creativity. So, equip yourself with a tile drill and let your DIY projects shine with professional quality.