About products and suppliers
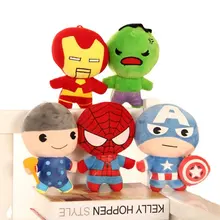
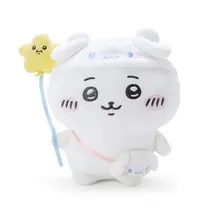
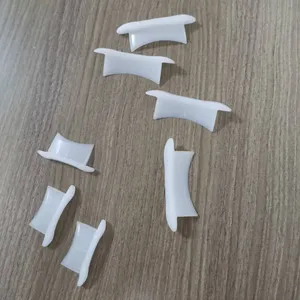
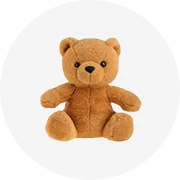
Als je op zoek bent naar de perfecte knuffelige metgezel voor je kind, nichtje of neefje, zoek dan niet verder dan Alibaba.com voor het beste. zijvormclips. Verkrijgbaar in een assortiment kleuren en schattige soorten zoals katten, beren, honden, olifanten, vogels, tijgers en meer; deze. zijvormclips zullen kinderen en het kind zeker in verrukking brengen bij elke volwassene. zijvormclips zijn belangrijk speelgoed voor kinderen om hun empathie te voeden, en zijn ook perfect om geschenk aan een significante ander.
. zijvormclips die op Alibaba.com worden aangeboden, zijn gemaakt van de beste kwaliteitsmaterialen die zijn onderworpen aan veiligheidstests om het welzijn van de gebruikers te garanderen. Ze hebben geen scherpe interne plastic of draden en zijn speciaal ontworpen om ervoor te zorgen dat ze geen huidirritatie veroorzaken. Deze. zijvormclips zijn ontworpen om zowel licht als zacht te zijn en zijn gemakkelijk mee te nemen. Sommige. zijvormclips bieden ook aanvullende aantrekkelijke functies, zoals de mogelijkheid om geluiden te maken en zelfs een spraakbericht op te nemen.
zijvormclips zijn verkrijgbaar in verschillende soorten en collecties, zoals huisdieren, zeedieren en bedreigde dieren. Deze. zijvormclips zijn geweldig om cadeau te doen en zijn verkrijgbaar in kleine formaten voor een kinderkamer, maar ook in grotere formaten tot enkele meters. zijvormclips met betrekking tot tekenfilms en animatiefilms worden ook aangeboden en zullen zeker een hit worden bij kinderen.
Kies de zachtste. zijvormclips voor uw kinderen of om cadeau te doen op Alibaba.com tegen de laagste prijzen zonder concessies te doen aan de kwaliteit. zijvormclips groothandelaren en leveranciers zullen ook ISO en CE-gecertificeerde producten tegen betaalbare aanbiedingen voor bulkaankopen. Wees gerust: de producten, aangeboden door de meest betrouwbare verkopers en fabrikanten, zijn goed getest op veiligheid.


 浙公网安备 33010002000092号
 浙B2-20120091-4