الرائج في مجال عملك


أعلى الفئات


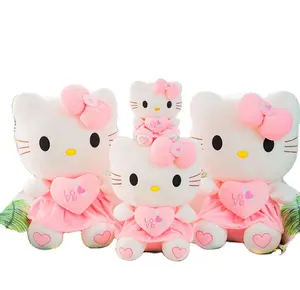
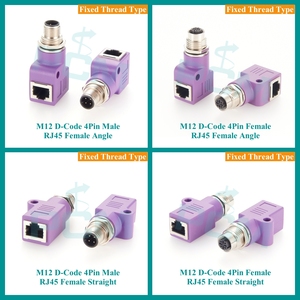
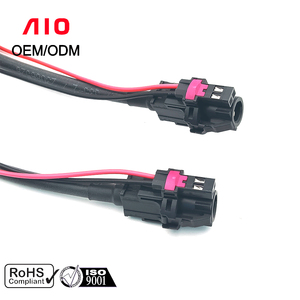
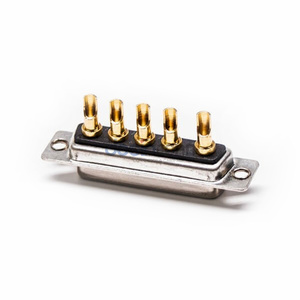
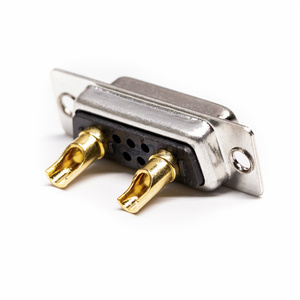
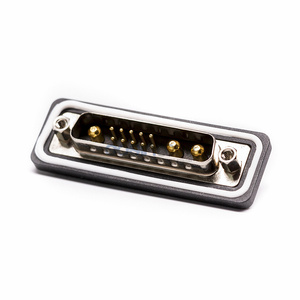
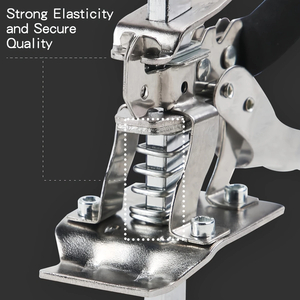
حول d s جاك
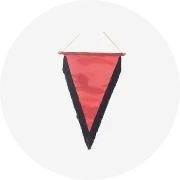
هناك عدة طرق لارتداء d s جاك. إنها إحياء أزياء لكل من الرجال والنساء. يصنعون شارات جميلة يتم تثبيتها على الملابس أو الحقائب أو القماش المعروض. يرتديها بعض الناس أيضًا كميداليات ومعلقات. قد يقوم المصنعون بتلوينها برسائل ورسومات مخصصة ، لذا فهي طريقة رائعة للتعبير عن الفن. يحتوي Alibaba.com على خيارات ذات ميزات متنوعة مثل الحيوانات والزهور والحجاب. جميعها ذات مستوى عالٍ وجودة متسقة. كما يوفر خيار التخصيص.
الوظيفة الأساسية لـ d s جاك. هو تثبيت الملابس في موضعها. تضيف التصاميم المرحة لمسة مثيرة للاهتمام إلى الزي بحيث يبرز مرتديها. احصل على هذه المنتجات الأنيقة والمتعددة الاستخدامات وأضف الأناقة والأناقة على أي مجموعة. إنها أعمال فنية رائعة وتساعد على التعبير عن شغف الفرد. يمكن للمؤثرين ارتدائها عن قصد لبدء المحادثات. هذا لأنها تخبر مرتديها بمزاج وآراء.
حان الوقت للتوقف عن السرقة من صندوق مجوهرات الجدة. استكشف Alibaba.com للحصول على d s جاك رائع. ويتعامل مع خدمات الشحن المعمول بها. إضفاء الحيوية على الملابس العادية ، وبناء الثقة وإصدار رسالة في نفس الوقت.